本頁內容
使用 starter template 建立 React 應用程式
React 是最廣泛使用的 JavaScript 前端函式庫。
在本教學中,我們將使用 Deno 建立一個簡單的 React 應用程式。此應用程式將顯示恐龍列表。當您點擊其中一隻恐龍時,將會帶您前往包含更多詳細資訊的恐龍頁面。您可以在 GitHub 上查看完成的應用程式 repo
本教學將使用 Vite 在本機伺服應用程式。Vite 是用於現代 Web 專案的建置工具和開發伺服器。它與 React 和 Deno 搭配良好,利用 ES 模組並允許您直接匯入 React 元件。
Starter app 跳到標題
我們已為您設定 starter template 供您使用。這將設定一個基本的 starter app,其中包含 React、Vite 和 deno.json 檔案,供您設定專案。造訪 GitHub repository https://github.com/denoland/react-vite-ts-template,並點擊「Use this template」按鈕以建立新的 repository。
一旦您從 template 建立新的 repository 後,請將其複製到您的本機電腦並導覽至專案目錄。
將 repository 複製到本機 跳到標題
git clone https://github.com/your-username/your-repo-name.git
cd your-repo-name
安裝相依性 跳到標題
執行以下命令以安裝專案相依性
deno install
執行開發伺服器 跳到標題
現在您可以執行以下命令來伺服您的新 react 應用程式
deno run dev
這將啟動 Vite 伺服器,點擊輸出的 localhost 連結以在瀏覽器中查看您的應用程式。
關於 template 跳到標題
您複製的 template repository 隨附一個基本的 React 應用程式。此應用程式使用 Vite 作為開發伺服器,並提供一個使用 oak 建置的靜態檔案伺服器,該伺服器將在部署時伺服建置的應用程式。React 應用程式位於 client 資料夾中,後端伺服器位於 server 資料夾中。
deno.json 檔案用於設定專案並指定執行應用程式所需的權限,它包含 tasks 欄位,該欄位定義可以使用 deno run 執行的任務。它具有一個 dev 任務,用於執行 Vite 伺服器,一個 build 任務,用於使用 Vite 建置應用程式,以及一個 serve 任務,用於執行後端伺服器以伺服建置的應用程式。
新增後端 API 跳到標題
我們將在 template 提供的伺服器中建置一個 API。這將是我們取得恐龍資料的地方。
在您新專案的 server 目錄中,建立一個 api 資料夾。在該資料夾中,建立一個 data.json,其中將包含硬編碼的恐龍資料。
複製並貼上 此 json 檔案 到 api/data.json 檔案中。(如果您正在建置真實的應用程式,您可能會從資料庫或外部 API 提取此資料。)
我們將在 template 隨附的伺服器中建置一些傳回恐龍資訊的 API 路由,我們將需要 cors 中介軟體 以啟用 CORS。
使用 deno install 命令將 cors 相依性新增至您的專案
deno install jsr:@tajpouria/cors
接下來,更新 server/main.ts 以匯入所需的模組並建立新的 Router 實例以定義一些路由
import { Application } from "jsr:@oak/oak/application";
import { Router } from "jsr:@oak/oak/router";
import { oakCors } from "@tajpouria/cors";
import routeStaticFilesFrom from "./util/routeStaticFilesFrom.ts";
import data from "./api/data.json" with { type: "json" };

export const app = new Application();
const router = new Router();
在此之後,在同一個檔案中,我們將定義兩個路由。一個在 /api/dinosaurs 以傳回所有恐龍,另一個在 /api/dinosaurs/:dinosaur 以根據 URL 中的名稱傳回特定的恐龍
router.get("/api/dinosaurs", (context) => {
  context.response.body = data;
});

router.get("/api/dinosaurs/:dinosaur", (context) => {
  if (!context?.params?.dinosaur) {
    context.response.body = "No dinosaur name provided.";
  }

  const dinosaur = data.find((item) =>
    item.name.toLowerCase() === context.params.dinosaur.toLowerCase()
  );

  context.response.body = dinosaur ?? "No dinosaur found.";
});
在同一個檔案的底部,將我們剛才定義的路由附加到應用程式。我們也必須包含來自 template 的靜態檔案伺服器,最後我們將啟動伺服器監聽 8000 埠
app.use(oakCors());
app.use(router.routes());
app.use(router.allowedMethods());
app.use(routeStaticFilesFrom([
  `${Deno.cwd()}/client/dist`,
  `${Deno.cwd()}/client/public`,
]));

if (import.meta.main) {
  console.log("Server listening on port https://127.0.0.1:8000");
  await app.listen({ port: 8000 });
}
您可以使用 deno run --allow-env --allow-net server/main.ts 執行 API 伺服器。我們將建立一個任務以在背景中執行此命令,並更新 dev 任務以同時執行 React 應用程式和 API 伺服器。
在您的 package.json 檔案中,更新 scripts 欄位以包含以下內容
{
  "tasks": {
+   "dev": "deno run -A --node-modules-dir=auto npm:vite & deno run server:start",
    "build": "deno run -A --node-modules-dir=auto npm:vite build",
    "server:start": "deno run -A --node-modules-dir --watch ./server/main.ts",
    "serve": "deno run build && deno run server:start"
}
如果您現在執行 deno run dev 並造訪 localhost:8000/api/dinosaurs,您應該會在瀏覽器中看到所有恐龍的 JSON 回應。
更新 entrypoint 跳到標題
React 應用程式的 entrypoint 位於 client/src/main.tsx 檔案中。我們的將非常基本
import { StrictMode } from "react";
import { createRoot } from "react-dom/client";
import "./index.css";
import App from "./App.tsx";

createRoot(document.getElementById("root")!).render(
  <StrictMode>
    <App />
  </StrictMode>,
);
新增 router 跳到標題
應用程式將有兩個路由:/ 和 /:dinosaur。
我們將使用 react-router-dom 建置一些路由邏輯,因此我們需要將 react-router-dom 相依性新增至您的專案。在專案根目錄中執行
deno install npm:react-router-dom
更新 /src/App.tsx 檔案以匯入並使用來自 react-router-dom 的 BrowserRouter 元件,並定義兩個路由
import { BrowserRouter, Route, Routes } from "react-router-dom";
import Index from "./pages/index.tsx";
import Dinosaur from "./pages/Dinosaur.tsx";
import "./App.css";

function App() {
  return (
    <BrowserRouter>
      <Routes>
        <Route path="/" element={<Index />} />
        <Route path="/:selectedDinosaur" element={<Dinosaur />} />
      </Routes>
    </BrowserRouter>
  );
}

export default App;
Proxy 以轉發 api 請求 跳到標題
Vite 將在 3000 埠上伺服應用程式,而我們的 api 在 8000 埠上執行。因此,我們需要設定一個 proxy,以允許路由器存取 api/ 路徑。將 proxy 設定新增至 vite.config.ts
export default defineConfig({
  root: "./client",
  server: {
    port: 3000,
+   proxy: {
+     "/api": {
+       target: "https://127.0.0.1:8000",
+       changeOrigin: true,
+     },
+   },
建立頁面 跳到標題
我們將建立兩個頁面:Index 和 Dinosaur。Index 頁面將列出所有恐龍,而 Dinosaur 頁面將顯示特定恐龍的詳細資訊。
在 src 目錄中建立一個 pages 資料夾,並在其中建立兩個檔案:index.tsx 和 Dinosaur.tsx。
Types 跳到標題
這兩個頁面都將使用 Dino type 來描述他們預期從 API 取得的資料形狀,因此讓我們在 src 目錄中建立一個 types.ts 檔案
export type Dino = { name: string; description: string };
index.tsx 跳到標題
此頁面將從 API 提取恐龍列表,並將其呈現為連結
import { useEffect, useState } from "react";
import { Link } from "react-router-dom";
import { Dino } from "../types.ts";

export default function Index() {
  const [dinosaurs, setDinosaurs] = useState<Dino[]>([]);

  useEffect(() => {
    (async () => {
      const response = await fetch(`/api/dinosaurs/`);
      const allDinosaurs = await response.json() as Dino[];
      setDinosaurs(allDinosaurs);
    })();
  }, []);

  return (
    <main>
      <h1>Welcome to the Dinosaur app</h1>
      <p>Click on a dinosaur below to learn more.</p>
      {dinosaurs.map((dinosaur: Dino) => {
        return (
          <Link
            to={`/${dinosaur.name.toLowerCase()}`}
            key={dinosaur.name}
            className="dinosaur"
          >
            {dinosaur.name}
          </Link>
        );
      })}
    </main>
  );
}
Dinosaur.tsx 跳到標題
此頁面將從 API 提取特定恐龍的詳細資訊,並將其呈現在段落中
import { useEffect, useState } from "react";
import { Link, useParams } from "react-router-dom";
import { Dino } from "../types";

export default function Dinosaur() {
  const { selectedDinosaur } = useParams();
  const [dinosaur, setDino] = useState<Dino>({ name: "", description: "" });

  useEffect(() => {
    (async () => {
      const resp = await fetch(`/api/dinosaurs/${selectedDinosaur}`);
      const dino = await resp.json() as Dino;
      setDino(dino);
    })();
  }, [selectedDinosaur]);

  return (
    <div>
      <h1>{dinosaur.name}</h1>
      <p>{dinosaur.description}</p>
      <Link to="/">🠠 Back to all dinosaurs</Link>
    </div>
  );
}
設定恐龍列表樣式 跳到標題
由於我們在主頁面上顯示恐龍列表,讓我們進行一些基本格式設定。將以下內容新增至 src/App.css 的底部,以井然有序地顯示我們的恐龍列表
.dinosaur {
  display: block;
}
執行應用程式 跳到標題
若要執行應用程式,請使用您先前設定的任務
deno run dev
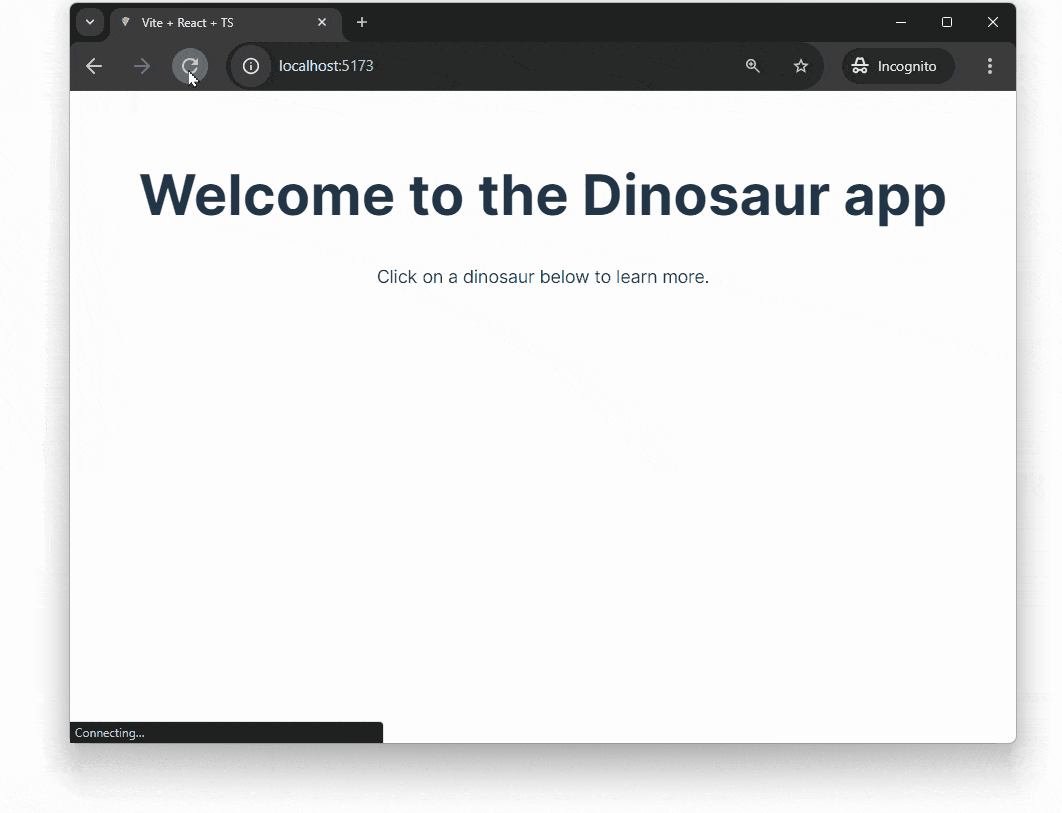
導覽至您瀏覽器中的本機 Vite 伺服器 (localhost:5173),您應該會看到顯示的恐龍列表,您可以點擊瀏覽以了解每隻恐龍。
建置與部署 跳到標題
您複製的 template 隨附一個 serve 任務,該任務會建置應用程式並使用後端伺服器伺服它。執行以下命令以建置和伺服應用程式
deno run serve
如果您在瀏覽器中造訪 localhost:8000,您應該會看到應用程式正在執行!
您可以將此應用程式部署到您最愛的雲端供應商。我們建議使用 Deno Deploy 以獲得簡單且容易的部署體驗。
若要部署到 Deno Deploy,請造訪 Deno Deploy 儀表板 並建立新專案。然後,您可以透過連線您的 GitHub repository 並選取您要部署的分支來部署應用程式。
為專案命名,並確保將 build step 設定為 deno run build,並將 Entrypoint 設定為 server/main.ts。
點擊 Deploy Project 按鈕,您的應用程式將會上線!
🦕 現在您可以使用 Vite 和 Deno 建立和開發 React 應用程式了!您已準備好建置極速 Web 應用程式。我們希望您享受探索這些尖端工具的樂趣,我們迫不及待想看看您會做出什麼!